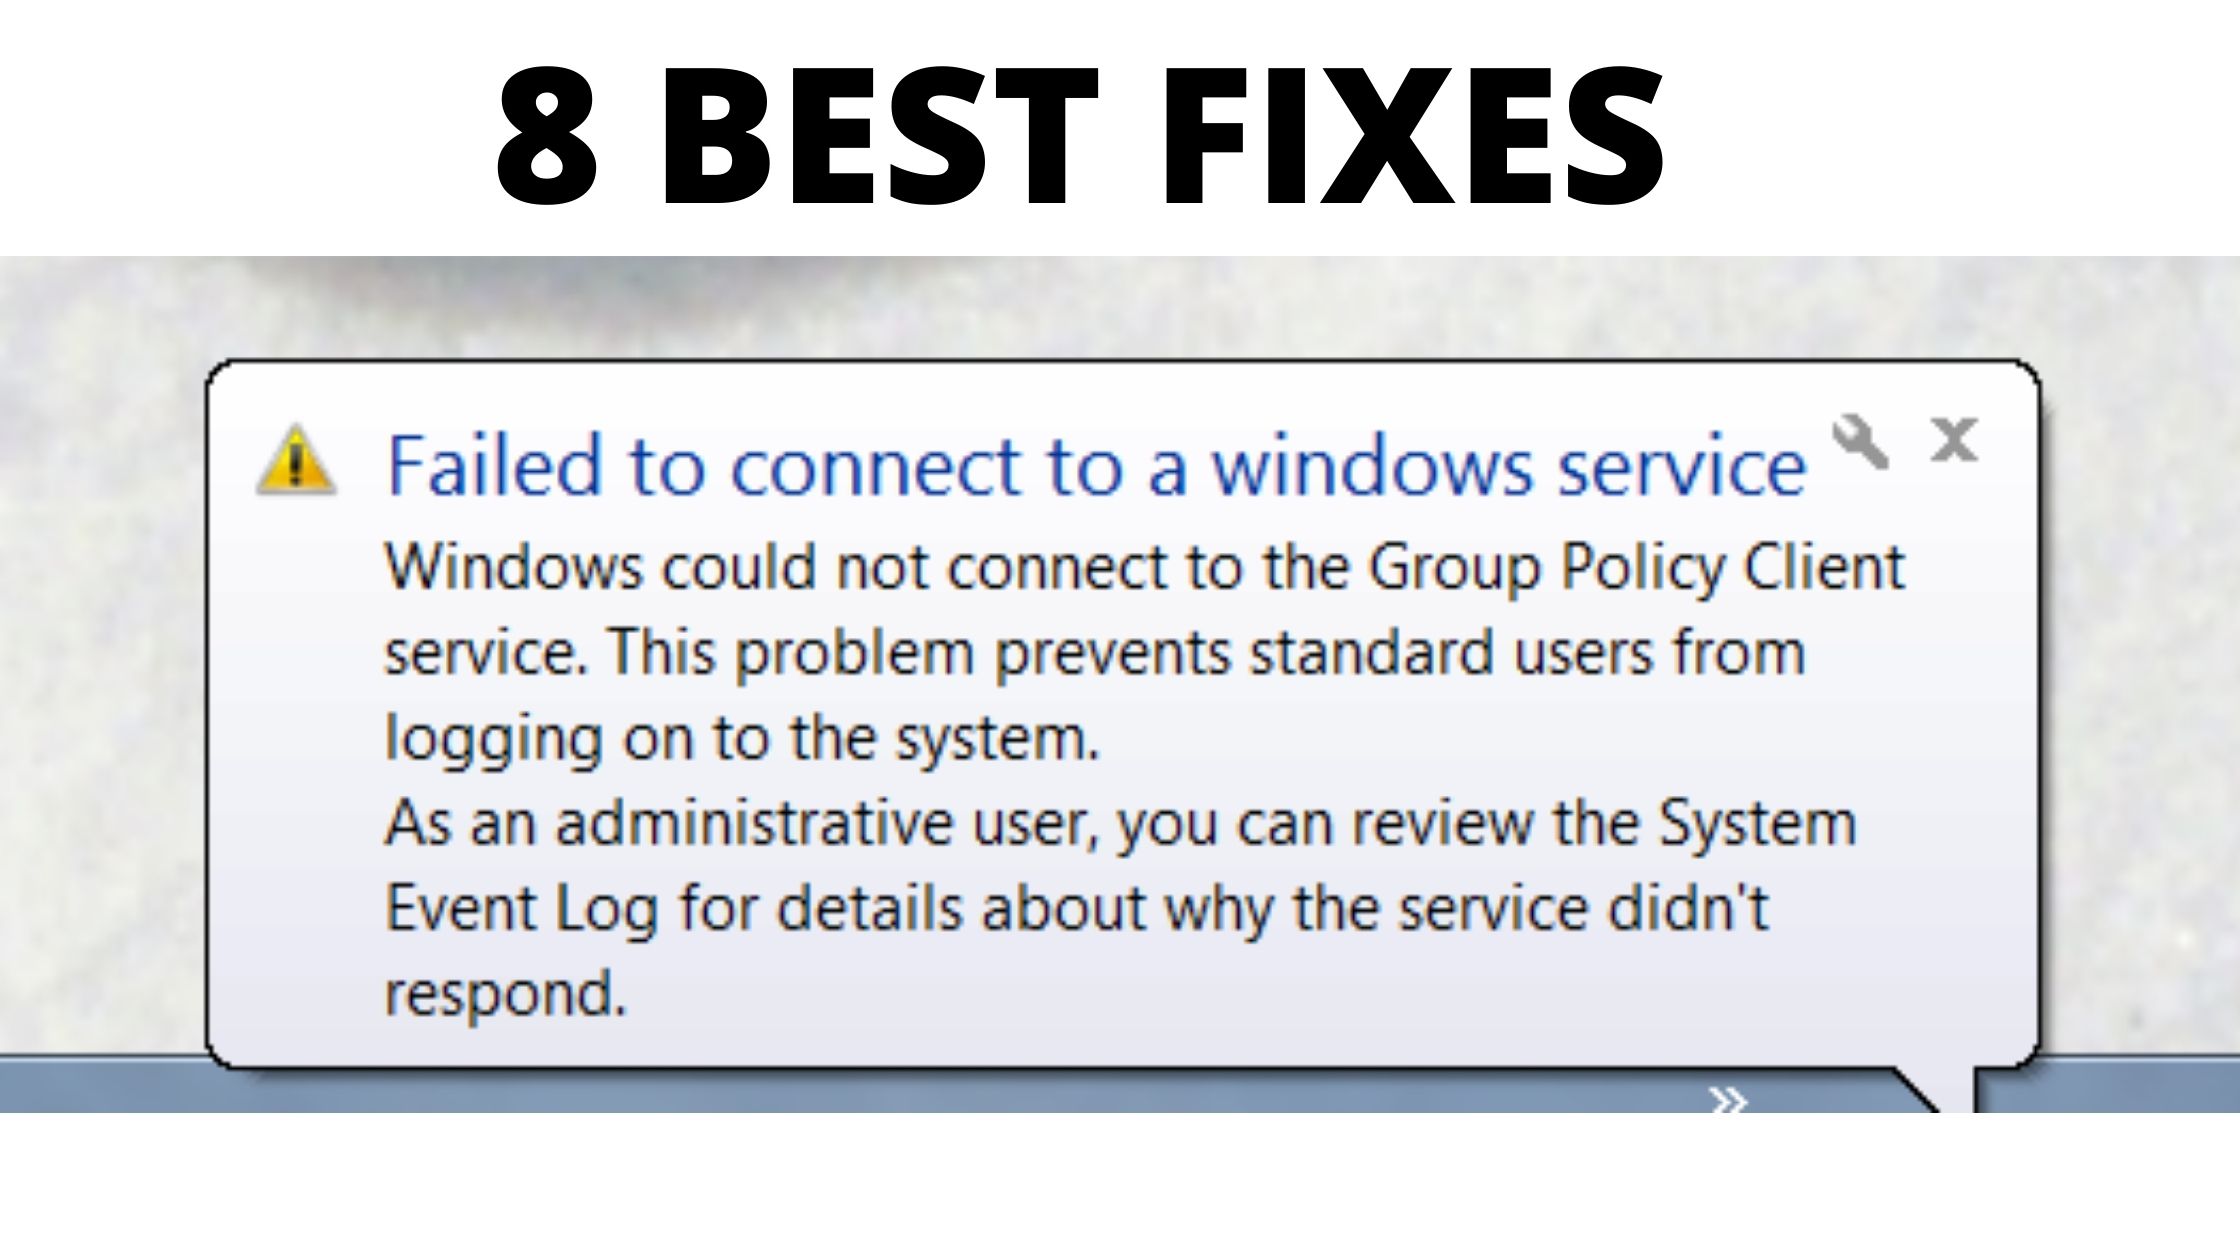
Services have become an important part of every single window. But sometimes a user may face some issues in windows service at some intervals. Users, therefore, report an error message – Failed to connect to a windows service. Without any delay, let’s check out the ways to solve.

Before moving further, let’s have a glance at some instances of this problem:
- The problem of the Failed to connect to a windows service arises when the user is not connected with their administrative account.
- Windows policy service of the Failed to connect to a windows service.
- Service of event notification of Failed to connect to a windows service
Failed to Connect to A Windows Service Error – 8 BEST Fix
Now, let us have a look at the 8 BEST fixes for Failed to Connect to A Windows Service Error.
Method 1: Use the command “netsh winsock reset”
- Step 1: Press X + Windows key. Select the option of command prompt from the menu.
- Step 2 – As the command prompt begins, write netsh and select Enter.
- Step 3 – Enter winsock reset. To run, press Enter.
- Step 4 – Restart the computer to check if the problem is fixed or not.
Also read: Techniques To Solve ‘Windows Could Not Complete The Installation Error’
Method 2: Registry Editor Use
The error message Failed to connect to a windows service sometimes appears when certain values and registry keys are missing. In such cases, users can add them by altering them via registry.
- Step 1 – Press R + Windows key. Type regedit. Select OK or press Enter.
- Step 2 – Registry Editor begins in the left panel to direct HKEY_LOCAL_MACHINESYSTEMCurrentControlSetServicesgpsvc
- Step 3 – Locate the value of ImagePath and check the data.
- Step 4 – On the left panel direct towards HKEY_LOCAL_MACHINESOFTWAREMicrosoftWindowsNTCurrentVersionSvcHost
- Step 5 – On the right panel, locate netsvcs and further click it twice.
- Step 6 – Check the field of value data. Add gpsvc if missing. Don’t delete anything from the list of Value data. Only add gpsvc, if it is absent.
- Step 7 – If the key netsvcs is unavailable in the left panel under the SvcHost, make it manually. For this, click right on SvcHost. Select NEW > KEY. Enter the key netsvcs, a new key.
- Step 8 – Select the newly created key netsvcs. Click on the space on the left side of the pane. Select NEW > DWORD (32-bit) value.
- Step 9 – Enter the new DWORD i.e. CoInitializeSecurityParam. Click it twice.
- Step 10 – Set the value 1 in the Value data. Press OK to save changes.
- Step 11 – Make a new value of DWORD & name it CoInitializeSecurityAllowLowBox. Click it twice.
- Step 12 – Make another 32-bit-DWORD. Name it AuthenticationCapabilities. Value it 3020 and select OK to save.
- Step 13 – Optional: you can make CoInitializeSecurityAllowInteractiveUsers DWORD. Value it 1.
- Step 14 – Close the Registry Editor. Restart the computer and see if it leads to fixation of Windows error.
Also read: Deleting Broken Registry Items From Your System (5 Unique Strategies)
Method 3: Fast Startup disabling
Disabling the Fast Startup might boot your computer a bit slow but the issues regarding the services will be resolved. Users have stated that the option of Fast Startup causes the error message of Failed to connect to a windows service. To avoid this, it is suggested to disable the Fast Startup.
- Step 1 – Press S + Windows Key. Write ‘Power Options’ . Select it from the given list.
- Step 2 – Choose what the power button does.
- Step 3 – Select a changeset that is currently unavailable.
- Step 4 – Move downwards to select shutdown settings. Deselect turn on fast startup (recommended).
- Step 5 – Select Save Changes.
Method 4: Stop the service of Windows Font Cache Service
Users believe that the Windows Font Cache service may interfere with the services of windows causing issues. Therefore, there is a need to stop it and delete the files of FontCache.
- Step 1 – Press R + Window Key. Write services.msc. and then select Enter or choose OK.
- Step 2 – Lookout for ‘Windows Font Cache Service’ post the service window opens on the screen. Tap on the right key and select stop.
- Step 3 – Minimize the service window and altogether press R + Windows Key. Enter %localappata% and tap OK.
- Step 4 – Go to AppData and locate the local folder to delete the files of FontCache dat.
- Step 5 – Visit the service window again. Right-click on Windows Font Cache Service. Select Start from the menu
Method 5: Safe Mode Zone
Few users stated that the entry of safe mode can fix the Failed to connect to a windows service error.
- Step 1 – Press the start button and then select the power button. Choose Restart and hold the shift key.
- Step 2 – Three options would be displayed on the screen when the system restarts all over again.
Select Troubleshoot > Advanced Option > Startup settings. Click the option Restart. - Step 3 – When the computer restarts again you will see the options list. Press the key F5 to enter the Safe Mode with networking.
- Step 4 – After entering the safe mode, restart the computer. It will resolve the service issue.
Method 6: Uninstall Bing Bar and Soluto
There are some programs like Bing bar and Soluto which create the problem. It is suggested to remove such programs if installed on the computer.
- Step 1: If you have to uninstall these programs, open the Settings app.
- Step 2: In the Apps and features section, search for these programs.
- Step 3: Select the uninstall button.
Method 7: Disabling User Account Control
When UAC is switched on, the Failed to connect to a windows service error is affected on the administrator accounts. Turn off the UAC to resolve the issue.
- Step 1 – Press S + Windows Key. Write User Accounts and select it from the list.
- Step 2 – After it opens, select the Change User Account Control setting.
- Step 3 – Scroll down to select Never notify.
- Step 4 – Select OK for saving changes.
However, there are some security risks after switching off the UAC. The user will not get any notifications after making some changes that need administrator privileges.
Method 8: Before shutting down the PC, disconnect the earphones
It’s asserted as a strange solution but a few users have claimed that it works. If your computer gets the error Failed to connect to a windows service, disconnect the earphones before shutting down or restarting the PC.
If it works, you need to repeat this each time while shutting down or restarting the PC.
Conclusion
The error message Failed to connect to a windows service is disturbing for the users. We hope that the above solutions will turn effective to resolve the service issues.


