Minecraft allows users to interact with each other via different servers. Nevertheless, at times users might face issues while joining a server during a game. It can create issues in the gameplay because users prefer playing Minecraft in online mode to interact with other players in their small world of Minecraft.
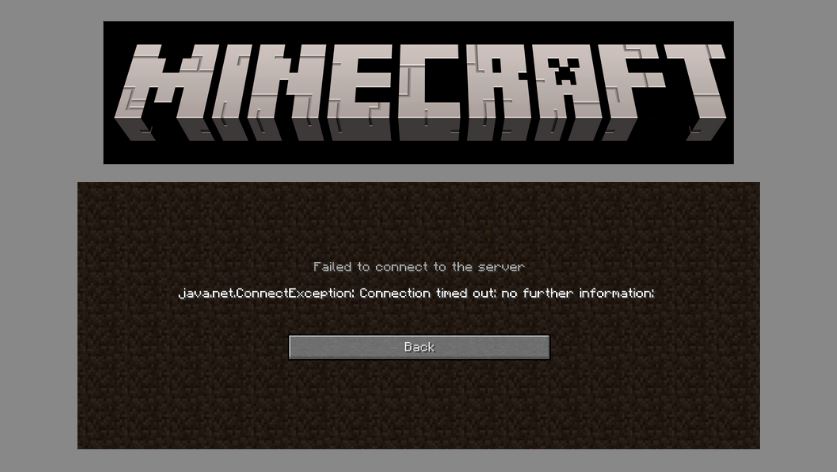
The error message ‘Minecraft Ian connection timed out’ is displayed when a certain firewall is blocking access to the internet while playing the game or any installed third-party antivirus software might consider this game malware that can restrict Minecraft from getting connected to its server. If you want a solution that can fix it easily for having a smooth game and chit-chat with other users, this article can help you out with the discussed solution that you should go through in the upcoming sections of this article.

Method 1: Adding Minecraft To The Firewall Connection List
The Firewall in your system is enabled by default to manage all the outgoing and incoming connections for protecting your PC. If you are running Minecraft for the first time on your PC, Windows will surely ask about permitting the connection to this server in the Firewall. Denying the connection at the start might be the reason for the error ‘Minecraft LAN connection timed out’. To permit the connection through the firewall follow the steps mentioned below :
- Step 1: Press and hold on to the ‘Windows + R keys’ for opening the ‘Run Window’.
- Step 2: Enter the command control and Hit ‘Ok’ for opening the control panel.
- Step 3: Direct towards the ‘System and Security’ section and select ‘Windows Defender Firewall’.
- Step 4: On the left side, choose the option of ‘Allow an app or feature through Windows Defender Firewall’.
- Step 5: You’ll get a list of games and programs. For making any changes, click on the ‘Change Settings’ button.
- Step 6: Look out for ‘JAVA’ or any such program and fill up the check box of ‘Public and private’.
- Step 7: Go through the same steps for the Minecraft game as well and hit ‘Ok’ to save all the changes.
- Step 8: You can now successfully create the LAN server again on your game and check if the issue persists.
Method 2: Disabling Antivirus
The third-party antivirus software can become a wall or a blockage in building up the connections to your PC and the server of LAN Minecraft. You can disable antivirus software on your PC to resolve the error ‘Minecraft LAN connection timed out’.
- Step 1: Click on the icon of antivirus present in the running background that you can check from the taskbar.
- Step 2: A menu appears on the screen. Select ‘Disable Shield’ and then choose the option of ‘Disable Protection temporarily for x minutes’.
- Step 3: Antivirus will be disabled and you can reopen the LAN server.
Also Read: Failed To Download The File: Contents Differ From What Was Expected-Minecraft Problematic Error
Method 3: Enabling Network Discovery Option
Network Discovery
There are a few types of networks such as private, public, and home. Depending on the type of network in the configuration of the persisting Wi-Fi connection, you may or may not have enabled the Network Discovery. The feature of Network Discovery is that it permits other PCs to look out for your server and connect them with zero error. If you want to be sure that you have enabled the feature of Network Discovery, follow the steps mentioned below :
- Step 1: Click on the icon of the Network such as Wi-Fi or Ethernet. A menu appears. Choose the option of ‘Open Network & Internet Settings’.
- Step 2: In the settings utility, look out for the ‘Sharing options’ button present under the ‘Change your network Settings’ section.
- Step 3: In the settings of advanced sharing, look out for the option of ‘Private’ and select it. Fill up the check box of ‘Turn on Network Discovery’.
- Step 4: Enable the ‘Guest or Public’ option as well and hit the ‘Save changes’ button.
- Step 5: Open Minecraft and then the LAN server. Now your friends won’t be seeing the error message ‘Minecraft LAN connection timed out.
Method 4: Direct Connectivity
There’s no need to know the port and IP address of your LAN server while playing among your friends because Minecraft itself finds the numbers when a player tries to enter or connect to the same network. The feature of Direct connects in Minecraft permits you to connect to your LAN server by entering the port and IP of your server manually. It’s a little advanced process involving numerous steps but can surely resolve your issue of ‘Minecraft LAN connection timed out’.
- Step 1: Open Minecraft and then select the option of ‘Open to LAN’.
- Step 2: Minecraft opens your LAN server while building up the world. You’ll see a text such as ‘Local game hosted on port xxxxx’. Note down the port number.
- Step 3: Minimise the game and simultaneously press and hold on to the ‘Windows + R’ keys for opening the Running window.
- Step 4: Copy the command ‘cmd’ and press and hold on to the ‘shift + ctrl + Enter’ for opening the command prompt with administrator rights.
- Step 5: Copy the command ‘ipconfig’ and hit ‘Enter’ to run the command.
- Step 6: You’ll see the network device’s IP configuration. Look out for the one that you use as by default address.
- Step 7: Copy the address in the ‘IPv4 Address’ line.
- Step 8: Go to the PC that desires to connect to the LAN server of Minecraft. Select the ‘Multiplayer’ button and then choose the ‘Direct connect’ option.
- Step 9: A box appears where you have to copy the IP address along with the port that you noted at the start.
- Step 10: Click on the option of ‘Join Server’ and the PC gets connected to the LAN server with zero error.
Also Read: Login Error Fixes: Snapchat Please Check Your Connection
Method 5: Updating Network Drivers
- Step 1: Press and hold on to the ‘Windows + X’ keys.
- Step 2: A menu appears next to the start menu. Select the ‘Device manager’ option.
- Step 3: Direct towards the ‘Network adapter’ section.
- Step 4: Right-click on ‘Wi-Fi’ or ‘Ethernet’ and choose the option of ‘Update driver’.
- Step 5: Select ‘Search automatically for drivers’ and Windows will install all the updates itself.
- Step 6: After it finishes, restart your PC, open the Minecraft LAN server and check if the error persists.
Conclusion
After collecting information from numerous sources, these were the best fixes or hacks that can help you to resolve the ‘Minecraft LAN connection timed out’. All the solutions are trustworthy and assure you of resolving errors with no disappointments.


