While switching between the various emulators if you found a faffing bugbear in the Windows, you can easily remove it with an all-in-one frontend emulation i.e. ‘RetroArch‘. After you download the cores i.e. the key emulators, RetroArch will help you to open up the games console emulators from a particular spot. This blog will make you learn about the list of best RetroArch cores, their configuration, control methods, shaders knowledge along with the process of applying them, and deleting any unwanted cores.

Frontends such as RetroArches and emulators are legal to download but downloading ISO image files and ROM for the game is illegal as it still has copyright. It depends upon the place where you are living in the world. The general rule says that you should play the owned ROMs of games and the ones that you might have already ripped from the cartridge or CD yourself.
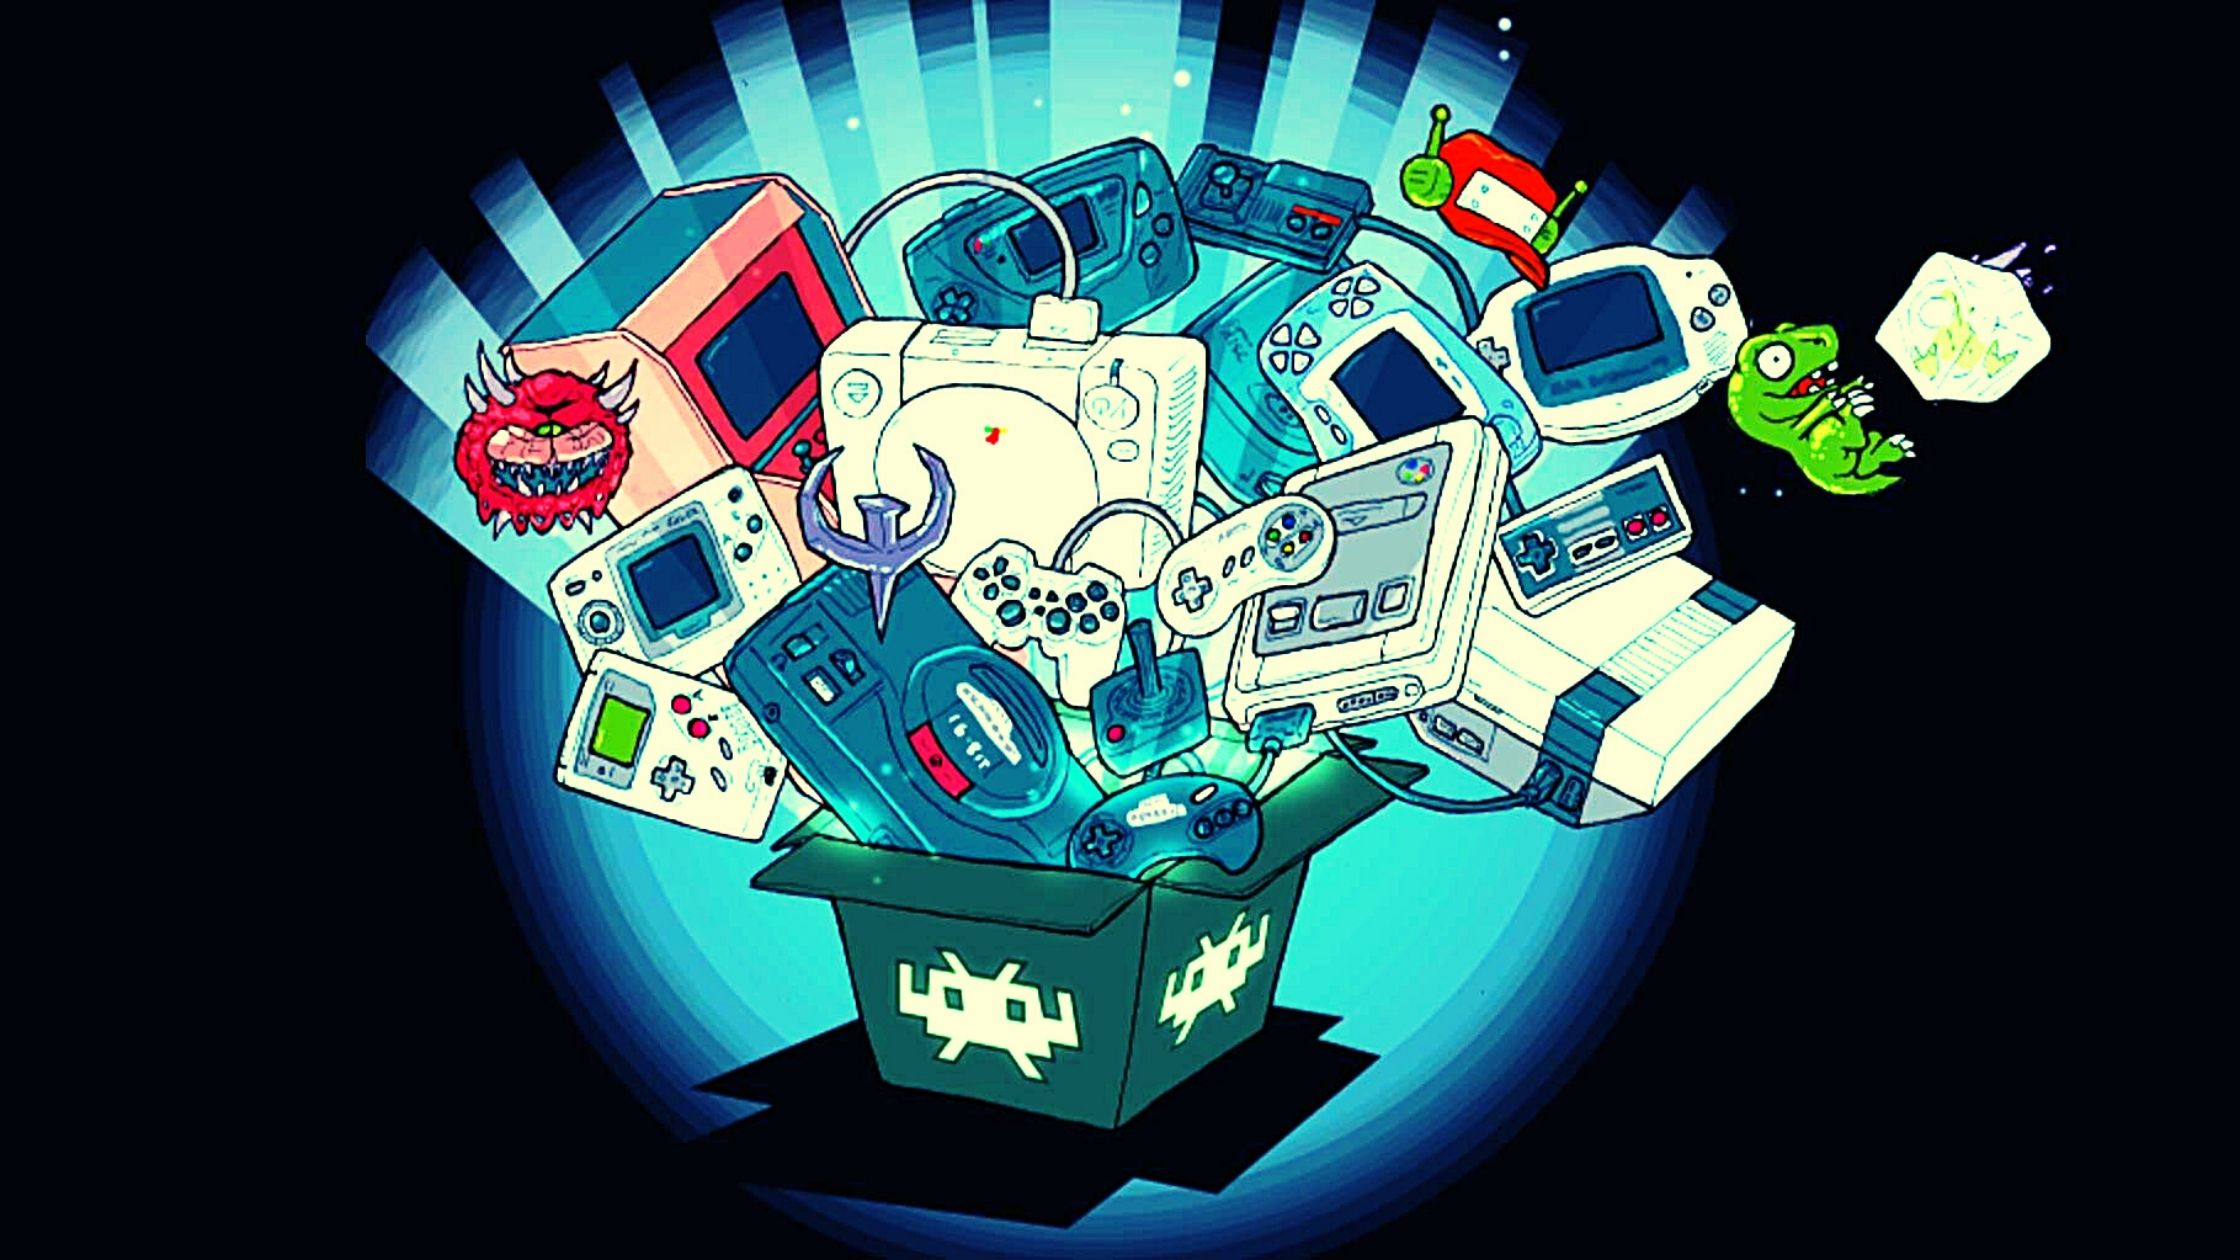
Best Android RetroArch Cores
1. Game Boy Color Gambatte: The emulator of Game Boy Color ‘Gambatte’ is an open-source emulator. It has the highest result of accuracy amongst others because it is based on many documentation studies and reverse tests of engineering. At present, it is available in form of a single emulator and a RetroArch core. It has also been used in ‘higan’, a component of SGB. The development process is currently slowed down. As it has high accuracy, it does not support SGB additional features.
2. Game Boy Advance mGBA: To run the game of GBA i.e. Game Boy Advance, the emulator named mGBA is needed. mGBA is one of the accurate and fastest emulators when compared with the other emulators of GBA. In addition to it, mGBA consists of additional features that are absent in the other emulators. mGBA emulator supports GB and GBC games.
3. Nintendo 64 Mupen64 Plus: The emulator of Nintendo 64, i.e, Mupen64Plus is an open-source emulator that is available for free and works as a cross-platform. The programming language used to write it are C++ and C. You can play the games of Nintendo 64 easily on your PC because it reads the ROM images either by direct creation of this on the PC like homebrew or dumped from Nintendo 64 cartridge ROM.
4. Nintendo (NES) Nestopia: The emulator of Famicon or Nintendo (NES) i.e. Nestopia is also an open-source emulator that is designed for the NES hardware emulation with high accuracy. Martin Freji was the developer of Nintendo (NES) Nestopia. It is written in C++ language. You can get this from its official website ‘nestopia.sourceforge.bet’.
5. Super Nintendo (SNES) Snes9X: The emulator used by the Super Nintendo(SNES) is Snes9x that has official ports for Linux, DOS, Microsoft Windows, MorphOS, macOS, AmigaOS 4, PSP, Xbox, iOS, Wii, GameCube, Android, and PS3. Windows Phone 8 & Windows RT have Snes8x that is an unofficial port.
6. PlayStation: PCSX-ReARMed: PCSX Rearmed is an emulator of PlayStation RetroArch that is a PCSX Reloaded fork. It differs because of its special optimization for the ARM architecture-based Central Processing Unit Systems. The Co-authors of this emulator are notaz, the PCSX team, and Exophase. The core of PCSX Rearmed is licensed under ‘GPLv2’.
RetroArch Cores Configuration
As you are set up with the cores to detect the games, now you need to have ISOs and ROMs to get your games on your android device. After having your games on the device, their loading can become easy just by going through the ‘Loading Content’. After this, you can either direct them from there or can set up a favourable playlist.
Steps to Set a Playlist
Step 1: Select the icon of the playlist present on the bottom side of the RetroArch screen.
Step 2: Choose ‘Scan Directory’.
Step 3: Select the directory where you prefer to keep the ROMs.
Step 4: The ROMs of every console will be present in individual folders present in the ‘Playlist Menu’.
Step 5: Now you can easily choose the game you want to play.
Also read: Falling Guillotine God Roll – Destiny 2 (The Easiest Guide)
RetroArch Cores Control
It is a confusing procedure but for the touchscreen users, it will be a bit easy as every core has its customized display of on-screen touch for controlling the game.
Step 1: From ‘Load core’ start loading the core. To load the game, go to ‘Load Content’ or you can visit the playlist you have created.
Step 2: Select the option of ‘Quick Menu’ present in the main menu of the RetroArch.
Step 3: Select ‘Controls’ and go down by scrolling for the configuration of the game controls.
Step 4: Save the controls of the game to apply it in every game present in that individual core by saving ‘Core Remap File’. To save the controls for a particular game, save ‘Game Remap File’.
Step 5: After saving the option according to your preference, you can go back to the game.
Method to apply shaders
Screen shaders or screen filters furnish the screen in different ways to make it beautiful and sharp. RetroArch employs the basic screen shader by default that makes the screen look a little blur. If you want to make it look better, you can do so by following the subsequent steps:
Step 1: While playing any game, go to the ‘Quick menu’. Select ‘Shaders’.
Step 2: After selecting shaders, choose preset and then shaders_glsl.
Step 3: Shader Folder appears that contains many subfolders. Take your time to explore them.
Step 4: If you want to try any one of them, choose the ‘glslp’ file.
Step 5: Select the option of ‘Apply Changes’. It will take some time to affect the game. Now each of your games will be work using the selected shader.
Types of shaders in the best RetroArch Cores
1. CRT Shaders: Strong scanlines and sharp images are formed when CRT shaders make a replica of the CRT aperture grille. There are only a few that forms a replica of the CRT shadow mask and needs high resolution for the mask display without aliasing.
2. LCD shaders: The function of such shaders is to form a replica of a low-resolution LCD. The ranges differ starting from a simple grid around the pixel to an enhanced recreation of every RGB subpixel pixel. It can also include the blurring of the motion to inculcate ghosting.
3. Game Boy Shader: This shader forms a replica of the Game Boy dot matrix screen. It finishes the problem of ghosting to inculcate some visual effects.
4. Smoothing shaders: It comprises hq4x and eagle.
hq4x: It rounds up the pixels of the game without making it blur. You can find it out in ‘hqx > hq4x.glsp’. Select hq4x if the eagle has turned out to be too blurry and smooth. Go for hq3x if your device is facing some issues with hq4x shaders. hq2x is good for slow devices.
eagle: It is a classic shader that smudges the game pixels and makes them slightly blur. You can select it from ‘eagle> supereagle.glslp’ if you feel hq4x is sharp.
Deleting RetroArch Core
Sometimes, you accidentally download any unwanted core via RetroArch’s interface. To delete them, follow the subsequent steps:
Step 1: Go to the ‘Home Tab’. Select ‘Load Core’ and choose the core you wish to delete.
Step 2: The header will get updated after you choose the core. Select ‘Information’ from the Home tab.
Step 3: Select ‘Core Information’ from the display screen of information.
Step 4: Search and select the option of ‘Delete core’ present on the screen of information core.
Step 5: After selecting the option of delete core, the selected core gets deleted.
Also read: How To Enable Screen Share In Discord
Conclusion
The multi-system emulator i.e. the RetroArch can easily support any system of a video game. It is 100℅ free too. An ideal platform for android users and the Play store that supports Chromebooks. The list of best RetroArch cores, their configuration, control methods, shaders knowledge along with the process of applying them, and deleting any unwanted cores have been explained in a simple language for a clear understanding. It will be more clear to you if you read this article precisely without any delay.


