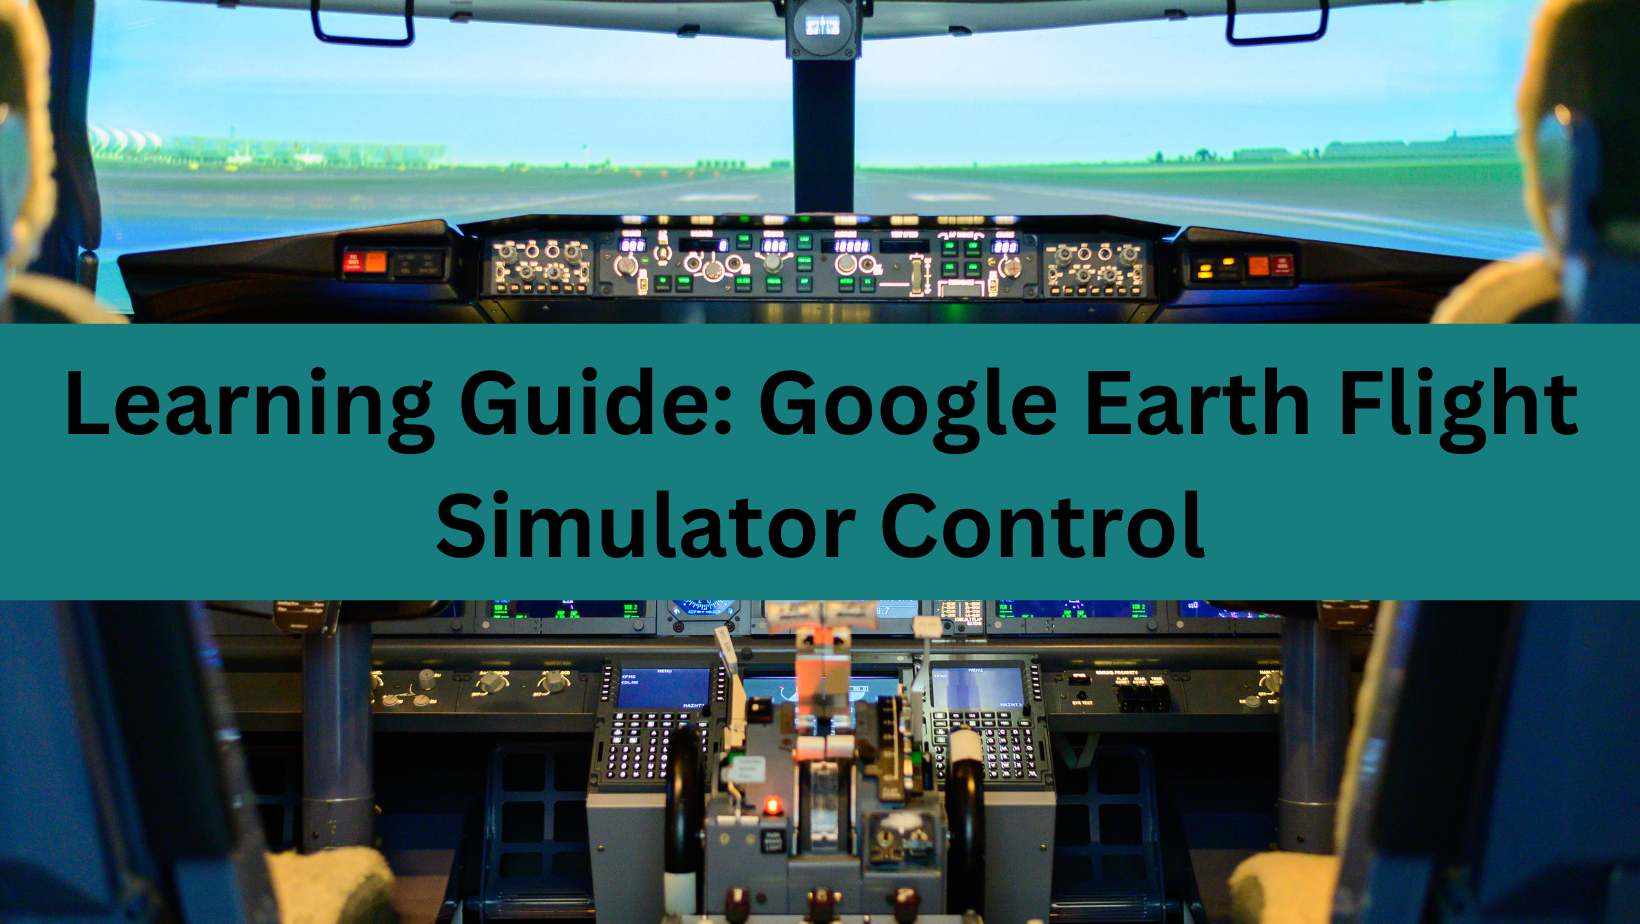
Google Earth Flight Simulator Controls latest version was launched on 20th August 2007. It is a flight simulator that utilizes the image of Google earth satellite as the base to get a real experience. You can access it by pressing Ctrl + A, Command + Option + A, or Ctrl + Alt + A & later you need to hit the enter button. After activating this feature, it gets displayed in the tools menu at least once. In v4.3, by default, this option is now visible. At present, only 2 aircraft, the Cirrus SR-22 and F-16 Fighting falcons are used at some airport centres. After you get the hang of it, the experience turns out to be so much fun.

In this article we will now share about the methods on how to start the flight simulator, how to use HUD, control the plane along with the method to land the plane.
Method To Start Flight Simulator
- Step1: Open the Tools menu drop-down list.
- Step 2: Press Ctrl + A, Command + Option + A, or Ctrl + Alt + A & hit the enter button. This feature is shown in the tools menu after you activate it.
- Step 3: A small window pops up where you can see three parts that are aircraft, joystick, and start position.
- Aircraft: Select the aircraft that you want to fly. Choose SR22 if you are a beginner as it’s a slow planet. If you are an expert, the F-16 will be the best for you. Here we will go with the F-16.
- Joystick: Fill the checkbox if you will be using a joystick to have control of your plane.
- Start Position: Here you can either have a look at the start position i.e. the airport of a big city or the flight simulator’s final position. If you are a beginner, you should go to the New York airport.
- Step 4: Click on the Start button present at the bottom of your screen.
- Step 5: Wait for some time so that the map gets loaded completely.
- Step 6: Perform the selection of the airports to have a regular landing easily.
- Step 7: Switch on the transportation, labels, and borders for good navigation purposes.
Method To Use HUD
- You will see a bunch of green things that are your HUD. Get aware of the HUD. We will start in a clockwise direction, so at the top, there are speeds in knots.
- Campus is located at the top. On the screen right side, you have a button for the Exit Flight simulator.
- To exit the simulator, you have to click on this button. You can see a number at the lines topside ‘0’.
- It will be later change according to the vertical speed in ft/min & if you move it down, it will turn negative. Below this, you can see the altitude check-in ft above the level of the sea.
- You’ll also see an arc at the center that includes other stuff too. It’s the main HUD. The arc indicates the bank angle.
- The parallel lines indicate the pitch angle in the degrees. There’s a box present at the bottom left corner.
- The top side is known as Aileron, the left side as Throttle, the right side as elevator, and the bottom side as a rudder.
- Above it is the flap indicator shown in per cent along with the landing gear status. If your plane is an SR22, then the gears seem to be fixed all the time.
Method To Control Plane
- Step 1: If your controls are inverted, move the mouse downward and check the nose if it pitches up and vice versa.
- Step 2: Get ready to take off your plane. Press “,” to move towards the left side and “_” to move towards the right side.
- Step 3: Increase the thrust and move the plane down the runway by clicking and pressing the up key of the page. Move the mouse to the down position after your plane starts moving.
- Step 4: Move the mouse in the right direction when you see the ground directly to the right. Afterwards, move down. It will make you shift to the right side.
- Step 5: Move the mouse in the left direction when you see the ground directly to the left. Afterwards, move down the way. It will make you shift to the right side.
- Step 6: Move the cursor at the screen bottom to shift the angle in an upward direction.
- Step 7: Move the cursor at the screen top to shift the angle in a downward direction & Press Esc to leave it.
Method To Land
- Step 1: Move towards the direction of the airport where you want to land.
- Step 2: Align the plane in such a way that the runway becomes vertical and comes at the screen centre.
- Step 3: Hold on to the page down button to decrease the speed and lose the thrust immediately.
- Step 4: Press the Windows F Key to increase the setting of the Flap. You will face difficulty in steering as well.
- Step 5: Press the Windows G Key to extract the landing gear.
- Step 6: Gradually begin to shift the cursor in an upward direction.
- Step 7: Look at the altitude as well.
- Step 8: Slow down the plane when you are near the airport.
- Step 9: The final descent should be slow. Go slow when the height is about 100 ft else you might face a plane crash.
- Step 10: There is an option of resuming or exiting a flight. If you crash the plane and click on the resuming option, the flight will start again and repeat the earlier steps.
- Step 11: Press “_” and “,” simultaneously to stop the moving plane. Press Shift + F to retract the Flap.
Conclusion
Hence, you can now easily simulate the flight in Google Earth. We have explained every method starting from its take-off to its landing in an appropriate sequence with easy language. We hope there will be no confusion in handling the flight and you’ll be able to manage it properly.


