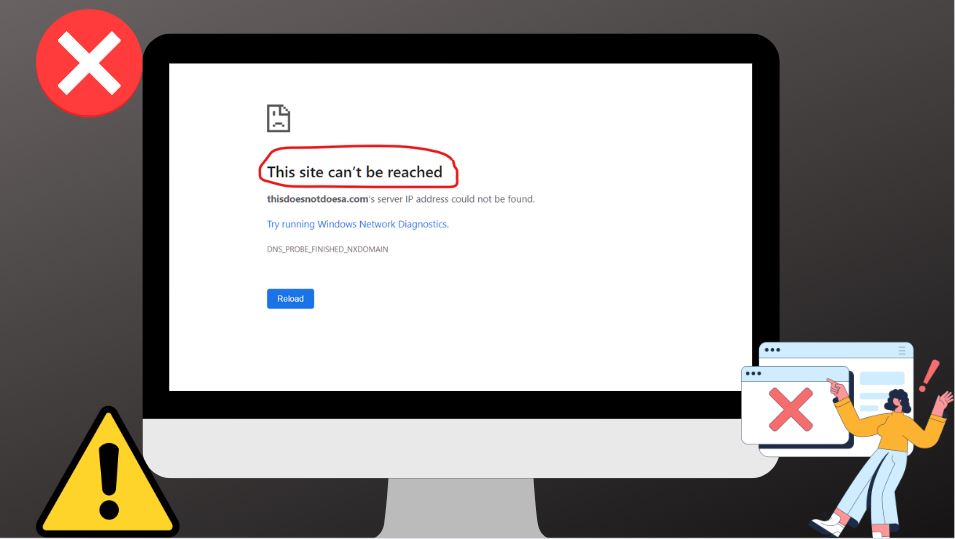
Everyone might have faced the ‘This Site Can’t Be Reached’ Error in Google Chrome while browsing any information. There are a few error codes like Error 404 that can be understood with ease. Nevertheless, errors such as ‘This Site Can’t Be Reached’ does not provide much information regarding the fixes. There are also a few possible reasons that result in the ‘This Site Can’t Be Reached’ Error in Google Chrome. If you can find out the reason, you can easily troubleshoot the error with the possible fixes that we are going to discuss below. It will help you out in accessing the website in Google Chrome with ease.

Methods To Fix ‘This Site Can’t Be Reached’ Error In Google Chrome
Method 1: Reinstall Google Chrome
- Step 1: Click on the option of ‘Start’ and look out for the ‘Control Panel’ app from the search bar. Open the application.
- Step 2: Select the option of ‘Programs’ and search for ‘Google Chrome’.
- Step 3: Right-click on the browser and select the option of ‘Uninstall’.
- Step 4: Download it again from Google Play Store.
Method 2: Reset Google Chrome Settings
- Step 1: Type ‘chroms://flags/’ in Google Chrome and press ‘Enter’. A web page opens on your device screen.
- Step 2: Select the option of ‘Restart all to default’.
- Step 3: Check if the ‘This Site Can’t Be Reached’ error in Google Chrome got fixed.
Also Read: Reasons & Fixes For Amazon Error 9074
Method 3: Updating Network Adapter Driver
- Step 1: Simultaneously press and hold on to the ‘R + Windows’ key. It will open Windows ‘Run’. In the provided run box, type ‘devmgmt.msc’ and press ‘Enter’ to proceed further. It will open the ‘Device manager’ in Windows 10.
- Step 2: Select ‘Network adapter’ for expanding it. Search for the wireless network adapter and right-click on it. Select the option of ‘Update Driver Software’.
- Step 3: Click on the option of ‘Search automatically for updated driver software’ and install the newest version on your device.
Method 4: Restarting DNS Client
- Step 1: Press and hold on to the ‘R + Windows key’. It will open the ‘Windows Run box’. In the run box, type ‘services.msc’ and press ‘Enter’ to proceed further. ‘Service Windows’ opens up.
- Step 2: Search for ‘DNS Client’ in the provided list. Select the option of ‘Restart’. It will restart the DNS client on your PC.
Method 5: Change IPv4 DNS Address Of PC
- Step 1: Right-click on the icon of ‘Wi-Fi or network’ present on the taskbar. Click on the option of ‘Open Network and Sharing center’.
- Step 2: Select the network connection that you are using currently and then click on the option ‘Properties’.
- Step 3: Double click on the option of ‘Internet Protocol version 4 (TCP/IPv4)’.
- Step 4: Select the check box of ‘Use the following DNS server addresses’. Enter ‘8.8.8.8’ in a chosen DNS server and ‘8.8.8.4’ in the alternative one. These are the Google public DNS numbers.
- Step 5: Go to the option of ‘Validate settings upon exit’ and select it. Press ‘ok’. Check if the error got fixed.
Also Read: How To Fix This Webpage Is Not Available Error
Method 6: Resetting IP/TCP
- Step 1: Press and hold on to the ‘R + Windows key’ simultaneously. In the run box, type ‘cmd’. Press and hold on to the ‘Ctrl + Shift + Enter’ for running the command prompt as an administrator.
- Step 2: Type all the ipconfig command lines that we have mentioned below and press enter after typing each command.
1. ipconfig /release
2. ipconfig /all
3. ipconfig /flushdns
4. ipconfig /renew
5. netsh int ip set dns
6. netsh winsock reset - Step 3: Restart the PC and open the website on Google Chrome once again to check if you fixed the issue.
Method 7: Use Network Troubleshooter
- Step 1: Press and hold on to the ‘R + Windows key’ to open the run box and type ncpa.cpl. Hit ‘Enter’.
- Step 2: Right-click on Wi-Fi present in the network connection window. Select the option of ‘Diagnose’. It will open ‘Windows Network Diagnostics’ for detecting the issue.
- Step 3: If an error message ‘DHCP is not enabled’ for your wireless network connection, click on the option of ‘Try these repairs as an administrator’ and then select ‘Apply This Fix’.
- Step 4: Restart the PC to check if the error got fixed.
Also Read: Error 4013 In iPhone : Effortless Steps To Resolve This Error
Method 8: Disable ‘Experimental QUIC protocol’ Option
- Step 1: Enter ‘chrome://flags’ in Google Chrome.
- Step 2: Search for the option of ‘Experimental QUIC protocol’.
- Step 3: Click on the icon of ‘Download’ and select the option of ‘Disable’.
Conclusion
It’s normal to face the ‘This Site Can’t Be Reached’ error in Google Chrome while browsing any website. You don’t need to panic. Simply apply any of the methods explained above after detecting the cause of the error. It will help you in troubleshooting the error smoothly.


