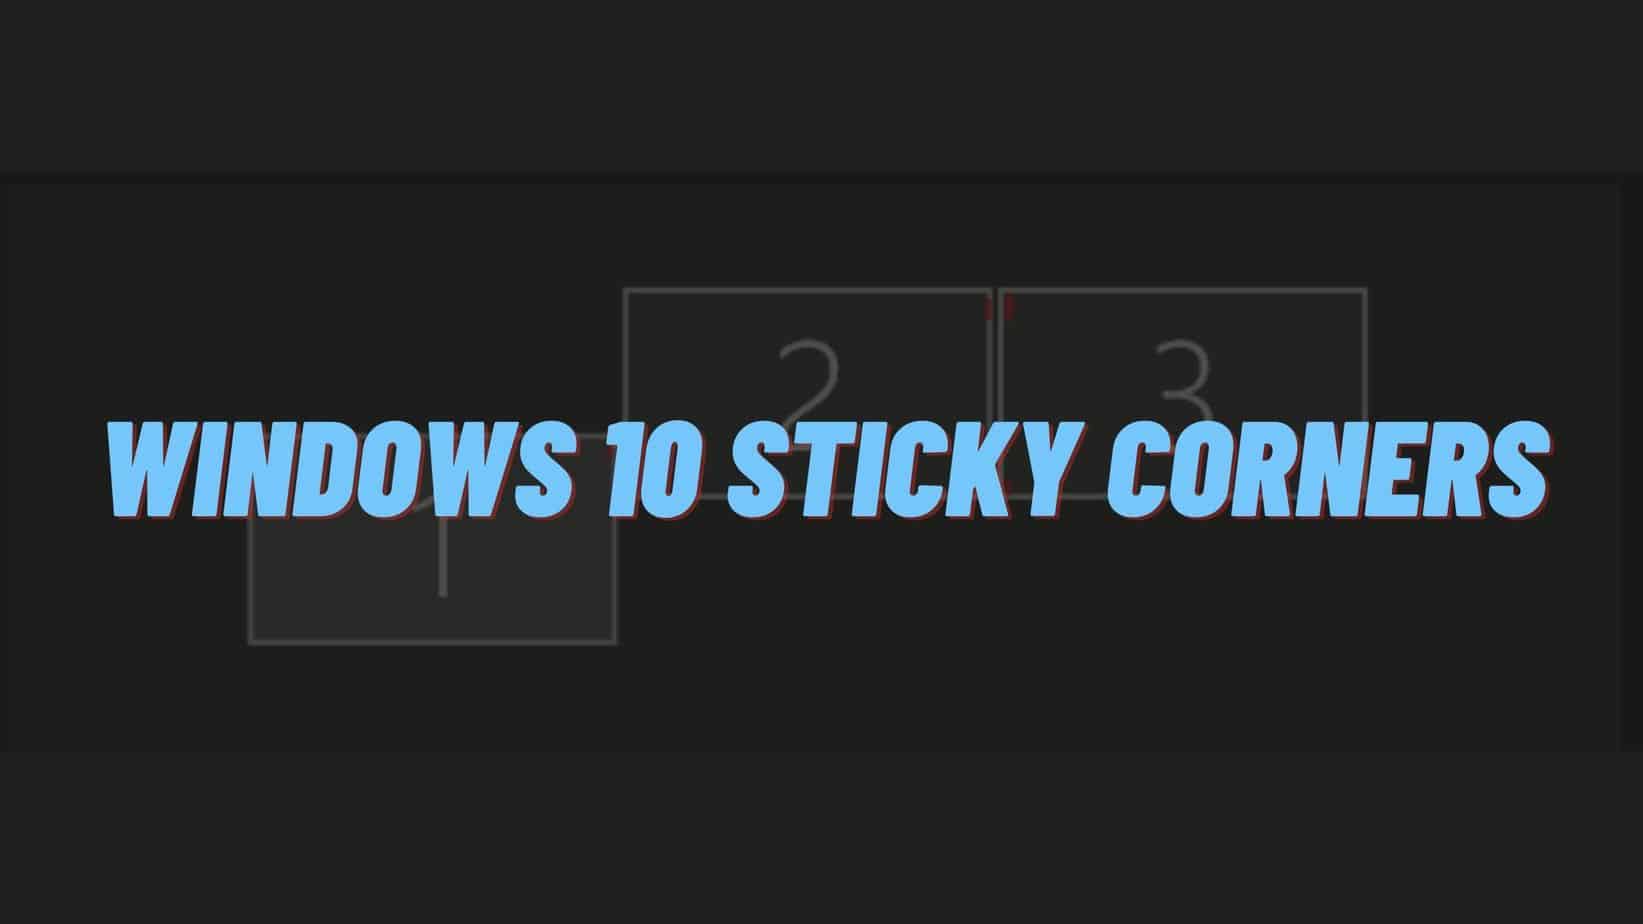
Wondering what are Windows 10 Sticky Corners? When multiple devices are being used, sometimes an area of about 6 pixels occurs at the corner of the screens. These spaces of 6 pixels only occur at the corners of the screen where there is an adjacent monitor. This issue is known as Windows 10 Sticky Corners. When you place your cursor on this area, it does not allow it to travel across to the adjacent screen. Read this article to find out TOP 2 fixes for Windows 10 Sticky Corners.

Many people tend to think that Windows 10 Sticky Corners issue is due to the feature of snapping windows. Hence, they disable the Window Snap. This does not yield any result.
In Windows 7, Windows 8, and Windows 8.1, the option to disable the Sticky Corners was available. With the upgrade of Windows to Windows 10, this option – Windows 10 Sticky Corners – was removed. This posed a huge problem for users with more than one screen as they now took extra time to complete their work.
The Solution for Windows 10 Sticky Corners issue
Let’s take a look at the methods to get rid of Windows 10 Sticky Corners error.
Method 1
- Select Windows Key + I. This will open Settings.
- Then choose the System option.
- You can locate the Multitasking option on the menu on the left-hand side. Click on it.
- On the right window pane, you can locate the Snap category.
- A toggle will be present below the option “Arrange windows automatically by dragging them to the sides or
- corners of the screen”. Disable this toggle.
- Now, press the Windows Key + R.
- Then, type in regedit.
- Press Enter. This will open the Registry Editor.
- Navigate to the HKEY_CURRENT_USER\Software\Microsoft\Windows\CurrentVersion\ImmersiveShell\EdgeUi key.
- If the EdgeUi key is not available, go to ImmersiveShell.
- After that, select New>Key.
- Name it EdgeUi.
- Now, right-click on it.
- Then select New > DWORD (32-bit) value by right-clicking on it.
- Enter MouseMonitorEscapeSpeed as the new name for DWORD.
- Set the value to 1. This is done by a double click on the key.
- Press OK.
- Reboot the device and the changes will be saved.
Also read: 8 Simple Fixes For “Windows 10 Error Code 0xc0000098”
Method 2
If the error persists, another way can be implemented to take care of it. Windows is currently working on the solution officially. Unofficially, there is an application named NSM. This application has been designed to take care of this error. The app is available on this website: jawfin.net. Download and install this application to fix the Windows 10 Sticky Corners error.
Conclusion
We hope that the above-mentioned solutions bring positive results. They have been tried and tested to fix Windows 10 Sticky Corners. Hence, you can follow them step-by-step and solve Windows 10 Sticky Corners issue. We hope you do not have to wait longer for the cursor to work smoothly across all your screens.


