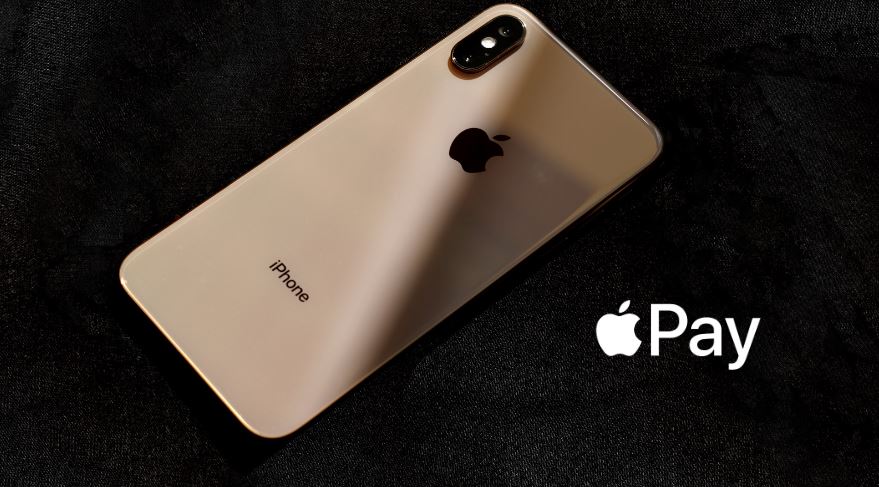
In today’s landscape of digital transformation, financial transactions have become swift. Among these advances, Apple Pay has emerged as an easy solution, empowering users to conduct secure and swift payments via their array of Apple devices. Be it at the checkout counter of a physical store, indulging in online retail therapy, or navigating within applications, Apple Pay has redefined payment methods by eliminating the reliance on traditional credit or debit cards and cash. This article guides you through the process of how to set up Apple Pay on all kinds of Apple devices, such as the iPhone, iPad, Apple Watch, and Mac. Moreover, we delve into the security infrastructure that guards Apple Pay, ensuring a fortification of safety and privacy.

In an era of digital convenience, where financial transactions are an integral part of our daily lives, Apple Pay definitely emerges as a secure and effortless solution. Whether you’re a tech-savvy individual or someone looking to explore the world of contactless payments, this comprehensive guide will ensure that you can harness the power of Apple Pay with ease and confidence. However, it’s to be duly noted that Apple Pay is not yet currently available in India but just in some international countries.
Prerequisites To Use Apple Pay
Before starting on the journey of setting up Apple Pay, it’s essential to ensure that the following prerequisites are fulfilled and then only you can use the Apple Pay feature easily.
- Eligible Apple Device: Apple Pay is accessible through a list of devices, including the iPhone 6 or any subsequent models, the iPad starting from the 5th generation, the Apple Watch, and MacBook models released from 2012 onwards, equipped with macOS Sierra or newer versions.
- Supported Credit/Debit Card: A credit/debit card is required linked to a valid bank account.
- Valid Apple ID: It is essential to have a valid Apple ID which is also connected to the iCloud account.
Configuring Apple Pay On macOS
Entering the digital age, Apple Pay has completely transformed the payment landscape, offering a seamless and secure way to make transactions. While it’s often linked with mobile devices, it’s important to know that you can also set up and utilize Apple Pay on your Mac. Let us first look into how to set up Apple Pay on your Mac and use it effortlessly.
- Step 1: Click on the iconic Apple logo and tap ‘System Preferences’.
- Step 2: Scroll down to find ‘Wallet and Apple Pay’ and click on it.
- Step 3: Tap on the ’+’ button to add the intricate card details.
- Step 4: Finally after the verification of the card details, click on the ‘Next’ button to use Apple Pay successfully through your Mac.
Also Read: Facing Greyed-Out Apple ID On Your iOS Device: 8 Fixes For You
Apple Pay Setup On iPhone
If you are currently using an iPhone and want to make all your transactions through the Apple Pay but don’t know how then follow the given steps listed below:
- Step 1: Locate the Wallet app on your iPhone and open it.
- Step 2: Tap a virtual ‘+’ icon, strategically positioned in the upper-right corner of the Wallet app. This initial step is to add a credit or debit card.
- Step 3: The app’s interface allows you to add the card details by capturing them through the iPhone’s camera or manually inputting all the required information.
- Step 4: Type the one-time password sent to the linked phone number, to verify the card.
- Step 5: Next, read and agree to all the Terms and Conditions and check on the box. Hence, upon the completion of the verification process, your Apple Pay is set on your iPhone.
Use Apple Pay On Apple Watch
Apple Pay can easily be accessed even through Apple watch. The process can be done through the specialized app Apple Watch App. Here’s how you can easily do it hassle free.
- Step 1: Open the Apple watch app on your connected iPhone.
- Step 2: Navigate to the ‘Wallet & Apple Pay’ section.
- Step 3: Tap on Add> Debit or Credit Card option.
- Step 4: Input all the card details either manually or through the iPhone’s camera.
- Step 5: Check the box for Terms and Conditions and complete the verification process. Upon completion of the verification process, Apple Pay is successfully set up on your Apple watch.
Access Apple Pay On iPad
While commonly associated with iPhones, it’s important to note that Apple Pay is also a valuable feature on the iPad. This guide will walk you through the steps of accessing and using Apple Pay on your iPad, enhancing your ability to make secure and convenient transactions both online and within apps. Follow the steps given below to add Apple Pay to your iPad.
- Step 1: Navigate to the Settings app on your iPad.
- Step 2: Scroll to engage with the ‘Wallet & Apple Pay’ configuration in the left-hand sidebar.
- Step 3: Click on Add Card > Debit or Credit Card
- Step 4: Input all the card details and check the Terms and Conditions box. Thus, upon verification of the card details with the bank, you can swiftly use Apple Pay on your iPad and do transactions effortlessly.
| Note : Also, if you already have a card added you can use that as well by tapping on the Previous Card option. This is applicable for all iOS devices |
Using Apple Pay: Offline vs Online
Apple Pay, presents users with a versatile tool for secure and convenient transactions, encompassing both offline and online realms. Whether you’re swiping your phone at a physical store or making digital purchases from the comfort of your home, Apple Pay accommodates effortlessly. We delve into the distinctions and benefits of utilizing Apple Pay in offline and online environments, providing you with insights to navigate the world of contactless payments confidently and effortlessly.
- In Physical Stores: Execute a double-click of the side button on your iPhone or tap into the convenience of your Apple Watch. Conclude the transaction by holding your device in proximity to the payment terminal, witnessing the transaction complete in a few seconds.
- In Apps and the Vast Expanse of the Online Realms: In the digital realm, upon encountering the payment option, select Apple Pay, utilizing your authentication method of choice: Face ID, Touch ID, or the Apple Watch. You can easily transfer money within the app, transact your money back and forth to your bank account with the help of special features like Apple Cash nestled within the services provided by Apple Pay.
What Makes Apple Pay Safe & Secure?
Apple Pay has redefined the landscape of secure and user-friendly digital payments. Features like tokenization, the use of biometric authentication, and Apple’s unwavering dedication to protecting your financial data is what makes Apple Pay’s security feature strong and different. Amidst the landscape of digital transactions, security and privacy emerge as bedrock principles within Apple Pay:
- Device-Specific Account Numbers: Apple Pay introduces hard rock security by replacing conventional card numbers with unique device-specific identifiers for each transaction. This pioneering approach safeguards actual card details from potential unauthorized access.
- Tokenization Paradigm: A layer of security envelopes transactions through tokenization, rendering sensitive data inscrutable to any scam intentions.
- Biometric Authentication Arsenal: The protection of Face ID, Touch ID, and the Apple Watch’s authentication mechanisms form an impervious fortress, ensuring that only you have the power to authorize transactions.
- Card Data Security: Upholding the sanctity of user data, Apple underscores its commitment by refraining from storing card numbers on its servers, a testament to its unwavering dedication to safeguarding your financial details.
Also Read: 4 Quick Techniques To Silence Apple Watch
Conclusion
In conclusion, Apple Pay has revolutionized the way we make digital payments, offering a seamless and secure experience across a range of Apple devices. Whether you’re on the go with your iPhone or prefer the convenience of your Mac, Apple Pay adapts to your needs. Once configured, Apple Pay simplifies financial transactions both in physical stores and across the vast online realm. With the added layers of security and privacy, users can enjoy peace of mind while making payments. Apple’s use of device-specific account numbers, tokenization, and biometric authentication ensures that your financial data remains safeguarded from potential threats. In a world where digital transactions are becoming increasingly prevalent, Apple Pay stands out as a secure, convenient, and privacy-focused solution that empowers users to transact with confidence. So, whether you’re grabbing a coffee at your favorite café or making online purchases, Apple Pay is there to make your financial transactions a breeze, all while prioritizing your security and privacy.
Frequently Asked Questions (FAQs)
Q) Can I add multiple cards to Apple Pay?
Ans: Certainly, you have the flexibility to add multiple credit or debit cards to your Apple Pay account. Just use the Wallet app on your iPhone or iPad, and you can easily manage and select from your multiple cards for various transactions.
Q) How is financial data secured in Apple Pay?
Ans: Apple Pay enhances security through device-specific account numbers, tokenization, biometric authentication (Face ID, Touch ID, Apple Watch), and by not storing card numbers on Apple’s servers, ensuring data safety.


