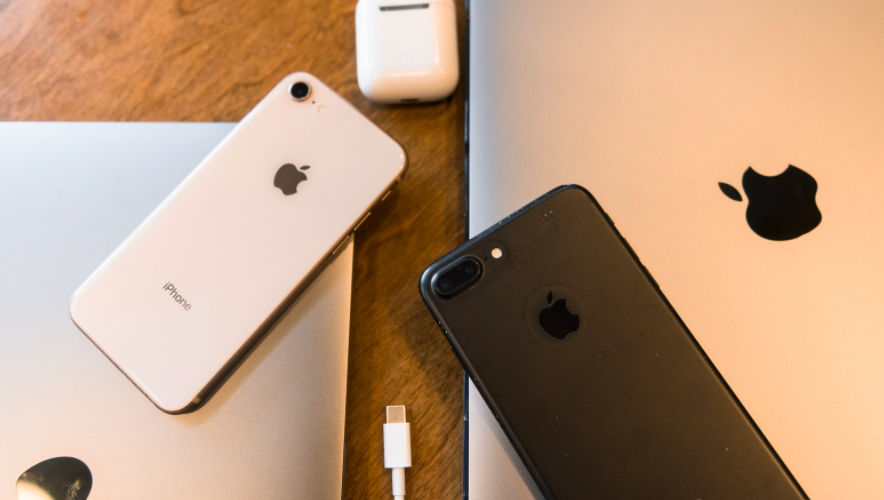
As every one of us loves to take pictures on our phones hence it becomes more fascinating when we click our picture using the iPhone because of its high quality, incredible lighting and easy way of capturing. But due to the less storage of the iPhone, it always becomes a challenge to keep them in iPhone itself as the photos and videos soon lead to storage issues. So it’s always better to transfer the photos from your iPhone to the PC where they are safer.

But here a problem arises: “How to transfer photos from iPhone to Pc?” You are in the right pl ace if you want a solution to this problem where you can find many steps to transfer your photos. Follow the below-mentioned methods to resolve this problem at the earliest.
Solutions To Transfer Photos From iPhone To PC
Using iTunes
You can sync photos between the iPhone and computer using iTunes as it allows the users to transfer photos. Follow the given steps to do the same.
- Step 1: Launch iTunes by connecting your iPhone to your computer using a USB cable
- Step 2: Then click on the iPhone’s device icon located on the left bar of the main interface
- Step 3: Now click on the ‘Backup Now’ option to commence the backing up procedure.
iPhone To Windows 8
Most of you may have a PC with an older version of Windows. When you connect your iPhone to your computer using a USB cable an AutoPlay will pop up. Now you will get a popup that says “ Tap to choose what happens to this device” on a PC with Windows 8 when it detects your connected device. As soon as you click on the popup you’ll see the import photos option which would allow you to move photos and videos from iPhone to PC. Now you can follow the same steps which are given in Windows 10.
Also Read: Photos Privacy Issue: Solution To Lock Your Photos On iPhone
iPhone To Windows 10
Follow the given steps to transfer photos from iPhone to PC
- Step 1: Using a USB cable plug your iPhone into your Windows computer
- Step 2: Tap allow on your iPhone if you would like to allow the computer to assess the iPhone
- Step 3: After providing the access, your photos application may automatically launch on your windows but if it doesn’t occur, launch the photos program using the Windows Start menu or search bar.
- Step 4: Click on the import button which is located at the upper right corner of the Photos app.
- Step 5: Select “From a USB device” which is mentioned in the drop-down menu.
- Step 6: Select your iPhone when you’ll be asked to select which one you want to import from if you have multiple USB devices plugged into your PC such as a thumb drive.
- Step 7: To import your photos your computer will undergo a search operation too.
- Step 8: A popup will appear with a box having new photos for transferring purposes
In case, if the photo application crashes here then you may have a common bug and to resolve you can use the method listed below.
- Step 1: Select the photos which you want to import
- Step 2: Click on settings that is represented by a gear icon to see where the photos will be saved and to change that location
- Step 3: You will see the location where the photos will be saved in the import settings menu along with a “Change the import destination” link in case you like to change the location where imported iPhone photos are saved to your PC
- Step 4: To go back to the image selection screen click on the “Done” option
- Step 5: Click on the import button once you have selected the images you want
- Step 6: Now you can view photos in the collections menu of the photos app or you can select the ‘Album Icon’ on the left sidebar to view specific albums once they are imported.
Also Read: Error 4013 In iPhone : Effortless Steps To Resolve This Error
Alternate Method To Transfer Photos From iPhone To PC
Some of the users may find bugs with the built-in Windows photos application. If you want another alternative method to achieve the result the steps are given below:
- Step 1: Unlock the iPhone and tap Allow after plugging your iPhone into your Windows computer with the cable
- Step 2: Your computer will navigate to “This PC”
- Step 3: Now you should find your iPhone listed under Devices and Drives
- Step 4: Select import pictures and videos by doing right-clicking on your iPhone and in the context menu
- Step 5: Click review to organize and group items to import or you can import all new items
- Step 6: Select on review because the automatic organisation may not be ideal at times.
- Step 7: The computer will scan your iPhone for images and videos after clicking on the ‘Next’ option
- Step 8: Now select items or photos you want to import & it’s done
| Note: In case, if you wish to change the location where the files are saved you can choose the “More options” link displayed at the bottom of the screen. But for many of the users, the default pictures folder is fine so they don’t use it. |
Also Read: Best Convenient Methods To Hide Apps In An iPhone
Conclusion
This is how we can transfer photos from iPhone to computer without any additional effort. In this article, we have covered every possible way to transfer photos. If nothing works then you should use third-party apps like iCareFone etc. To get the best results follow each step carefully and get your photos transferred from your iPhone to your PC.


